Playground Design Process
A successful playground starts with a solid design strategy that balances safety, play value, accessibility, and aesthetics. Whether you're working on a public park, schoolyard, or HOA common space, the playground design process helps translate community needs and regulatory requirements into a functional, inspiring play environment.
This guide outlines the typical phases of playground design — from site analysis and needs assessment to final installation — incorporating best practices from the National Recreation and Park Association (NRPA), CPSC, and ASTM F1487.
🔹 Phase 1: Project Planning & Stakeholder Input
Define Key Objectives:
- Age range and user capacity
- Accessibility and inclusion goals
- Budget constraints
- Target aesthetic (nature-inspired, modern, themed, etc.)
Identify Stakeholders:
- City planners or HOA boards
- School administrators and parents
- Certified Playground Safety Inspectors (CPSIs)

🔹 Phase 2: Site Evaluation
Conduct a physical or virtual site audit:
- Lot dimensions and topography
- Soil condition and drainage
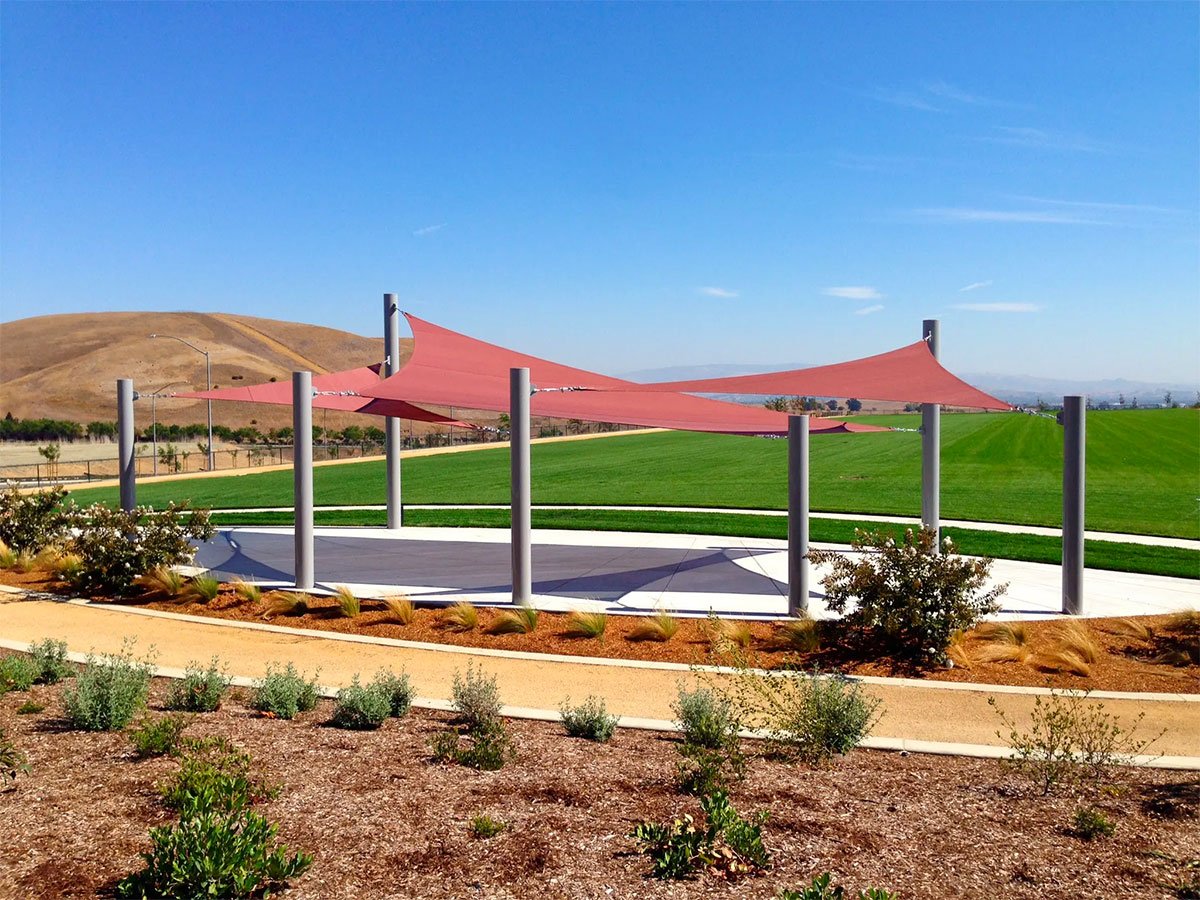
- Sun exposure, wind, and natural shade
- Utility lines and zoning restrictions
📎 Tip: Confirm if your site is in a floodplain or ADA-restricted area.
🔹 Phase 3: Concept Design
Create Preliminary Layouts:
- Divide space into zones by age group or activity type
- Establish circulation paths, buffer areas, and quiet zones
- Include supervision sightlines
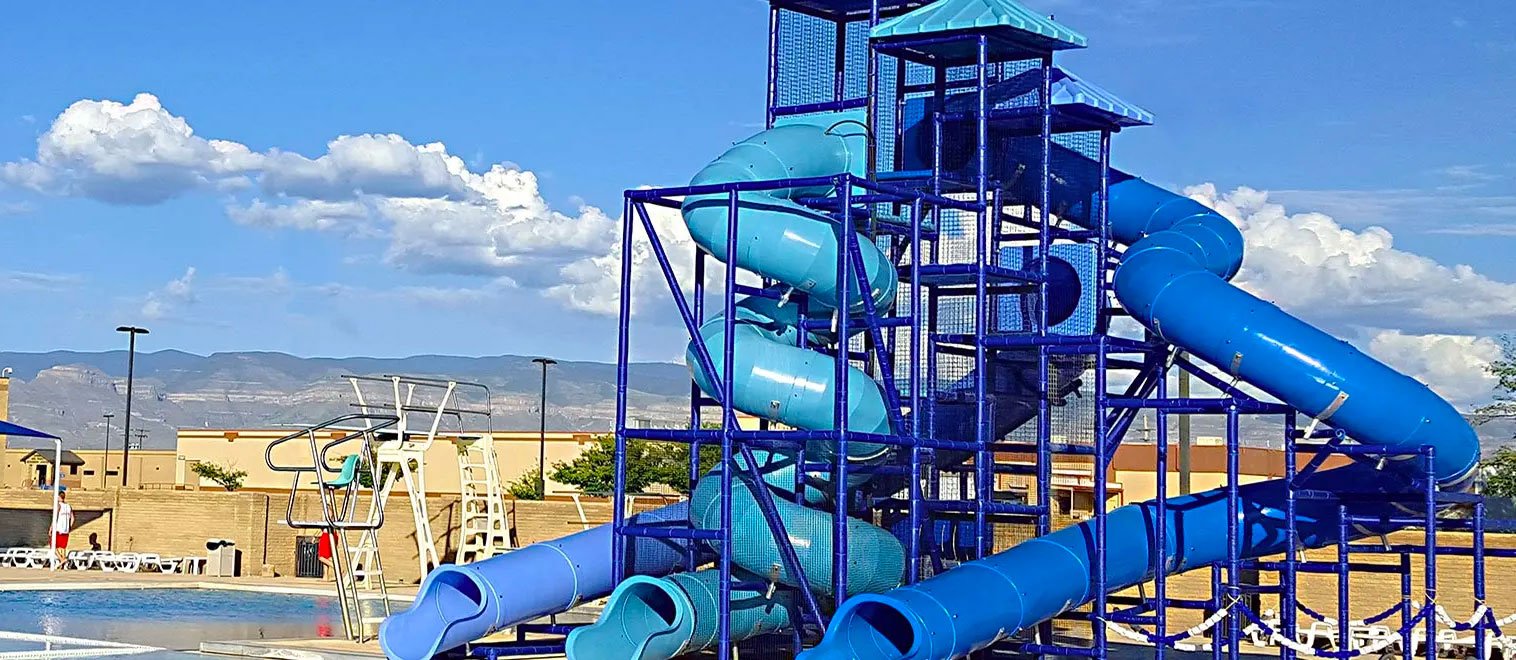
Choose Equipment Types:
- Modular systems vs freestanding elements
- Themed or custom features
- Inclusive and sensory-rich components

🔹 Phase 4: Regulatory Review & Compliance
Check for:
- CPSC Public Playground Safety Guidelines
- ASTM F1487 Equipment Standards
- ADA Accessibility Requirements
Obtain necessary permits, fire code clearance, and zoning approval.
🔹 Phase 5: Budget Finalization
Break down total cost:
- Equipment and surfacing
- Site prep and grading
- Shipping and installation
- Permitting, design fees, and amenities
Explore funding options:
- KaBOOM! Grants
- Municipal budgeting or PTA fundraising
🔹 Phase 6: Final Design & Vendor Coordination
- Work with a CPSI-certified designer or vendor
- Finalize layout, surfacing materials, and equipment selection
- Secure warranties and manufacturer compliance certifications
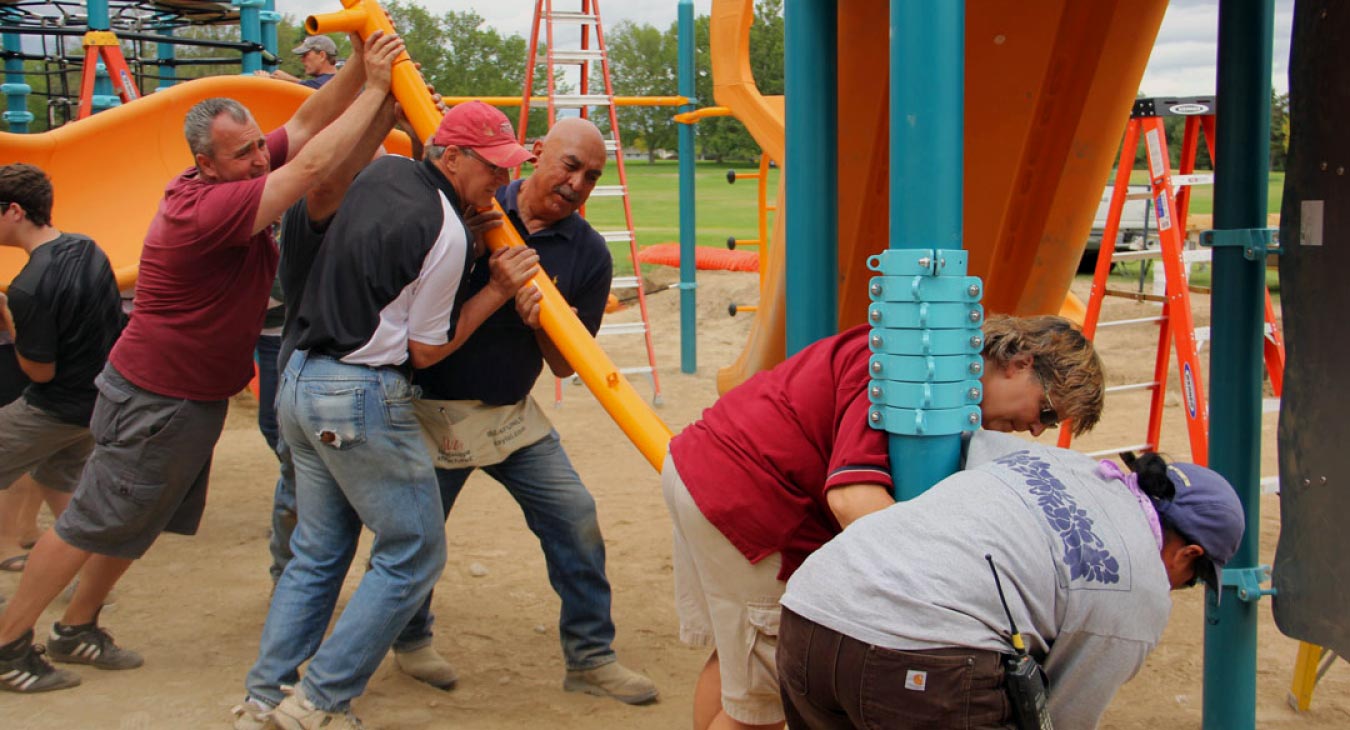
🔹 Phase 7: Installation & Post-Inspection
- Prepare site (grading, drainage, concrete footers)
- Install equipment with professional team or vendor crew
- Conduct final inspection using ASTM/CPSC checklist
- Schedule ongoing maintenance plan